Shaders MCP
Connect your AI coding agent to Shaders so it can find, install and edit effects in your codebase.
Any Shaders account can connect, free included, and your agent can install and edit the shaders you design in the editor. The curated preset and section library and the Pro knowledge base require Shaders Pro.
The Shaders MCP is a Model Context Protocol server: a standard way for an agent to call tools on another service. It works with any MCP-compatible agent, including Claude Code, Cursor, Codex, Windsurf, GitHub Copilot, Bolt, Lovable and v0.
Connect your agent to Shaders
Most MCP clients support OAuth, so you sign in with your Shaders account and never handle an API key.
Installing the MCP server
Run one command in your project:
npx shaders@latest install-mcp
It detects the coding agents on your machine (Cursor, Claude Code, Codex, VS Code, Windsurf, Antigravity and more) and writes the right MCP config for each. Run npx shaders@latest install-mcp --help for options, such as targeting specific agents or choosing global vs. project config.
In Cursor or VS Code, you can also install in one click:
Signing in
Open your agent. It asks you to sign in with your Shaders account the first time it connects.
Sending your first prompt
Ask your agent: "Install a flowing color shader in the background". Prompting your agent lists what it can do.
Configuring the server by hand
To set it up yourself, add the server to your tool's MCP config:
Using Shaders with Bolt.new
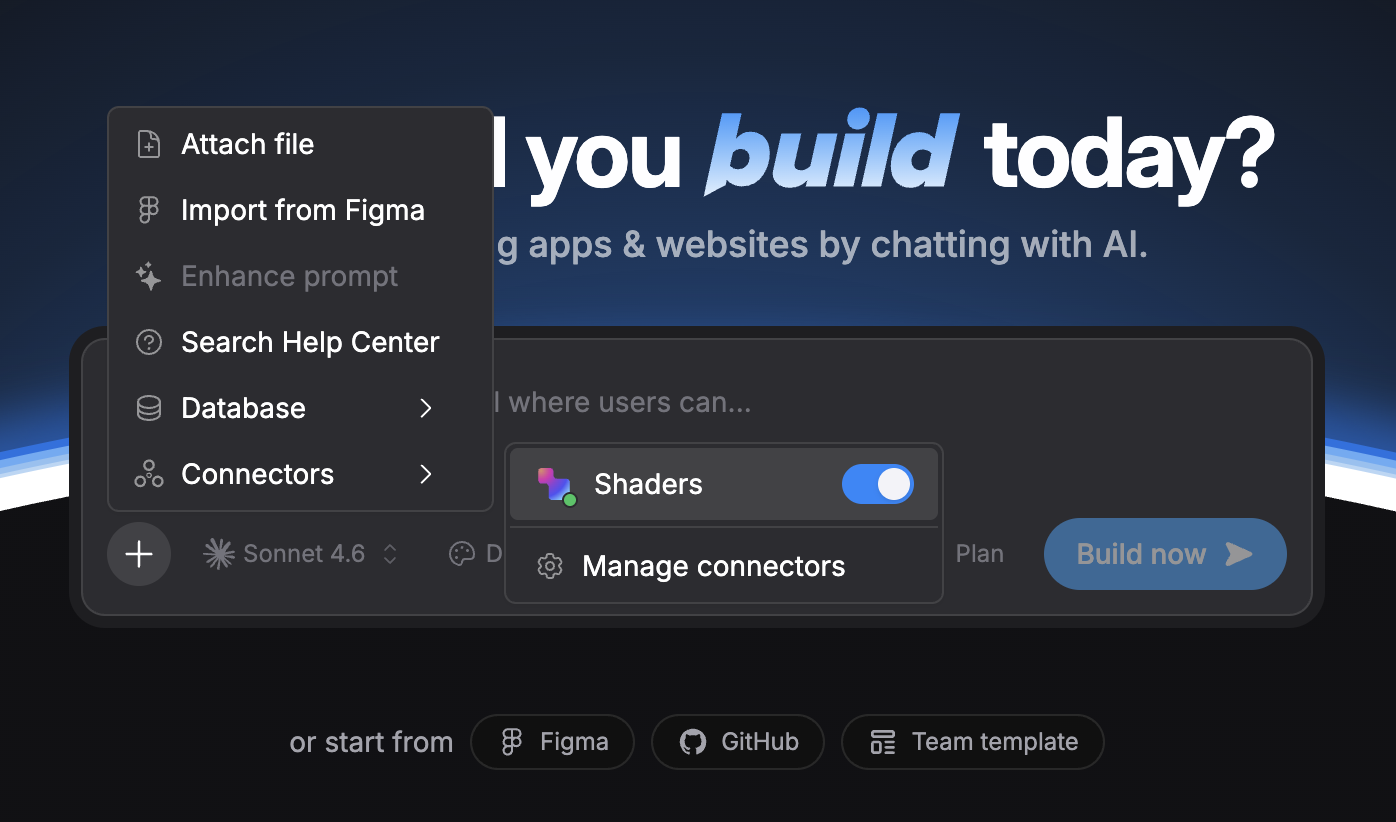
Shaders has an official connector on bolt.new. Open the "Connectors" panel, find Shaders, and sign in with your Shaders account. There's nothing to configure. Once it's on, any request to add or edit a shader goes through the Shaders MCP.
Signing in with an API key
Use an API key if your tool doesn't support OAuth. Generate a personal key here:
The same key works for the Shaders CLI in CI and other places without a browser: set it as SHADERS_API_KEY.
Add the key to your tool's MCP config as a Bearer token:
Prompting your agent
Once connected, your agent can:
- Browse and retrieve your shaders: list the effects saved to your Shaders account, then pull component code for any of them in Vue, React, Svelte, Solid or vanilla JS. Use this to bring a design from the editor into your codebase.
- Explore the Pro preset library: search and retrieve Pro collections and presets, with code exports, thumbnail previews and extra context, then install and customize one.
- Modify props and connect them to state: change your shaders and presets in code, then wire props to reactive state in your framework for interactive effects.
- Generate an SDF from your SVG files: shape effects such as Glass, Emboss and Neon need a signed distance field (SDF), a texture that stores how far each pixel is from the shape's edge. Your agent generates one from any SVG in your codebase or at a public URL, and saves it to your codebase. It knows when an SDF is needed and asks which SVG to use.
Example prompts:
Install my "Landing Hero" shader in the hero section as a background.
Add a shader to the background of this card, something blue with a subtle flowing animation.
Make the circle in this shader get bigger as we scroll past the section.
Add my logo.svg as a liquid glass effect on top of this shader.
Using the Pro knowledge base
Pro accounts add a knowledge base of expert notes to your agent's context. The notes cover advanced composition patterns that aren't in the public docs, and your agent reads them when they're relevant.
Some collections and presets also carry extra context about how to reproduce their specific look.
Make your agent a shader expert...
Integrating Shaders into your product
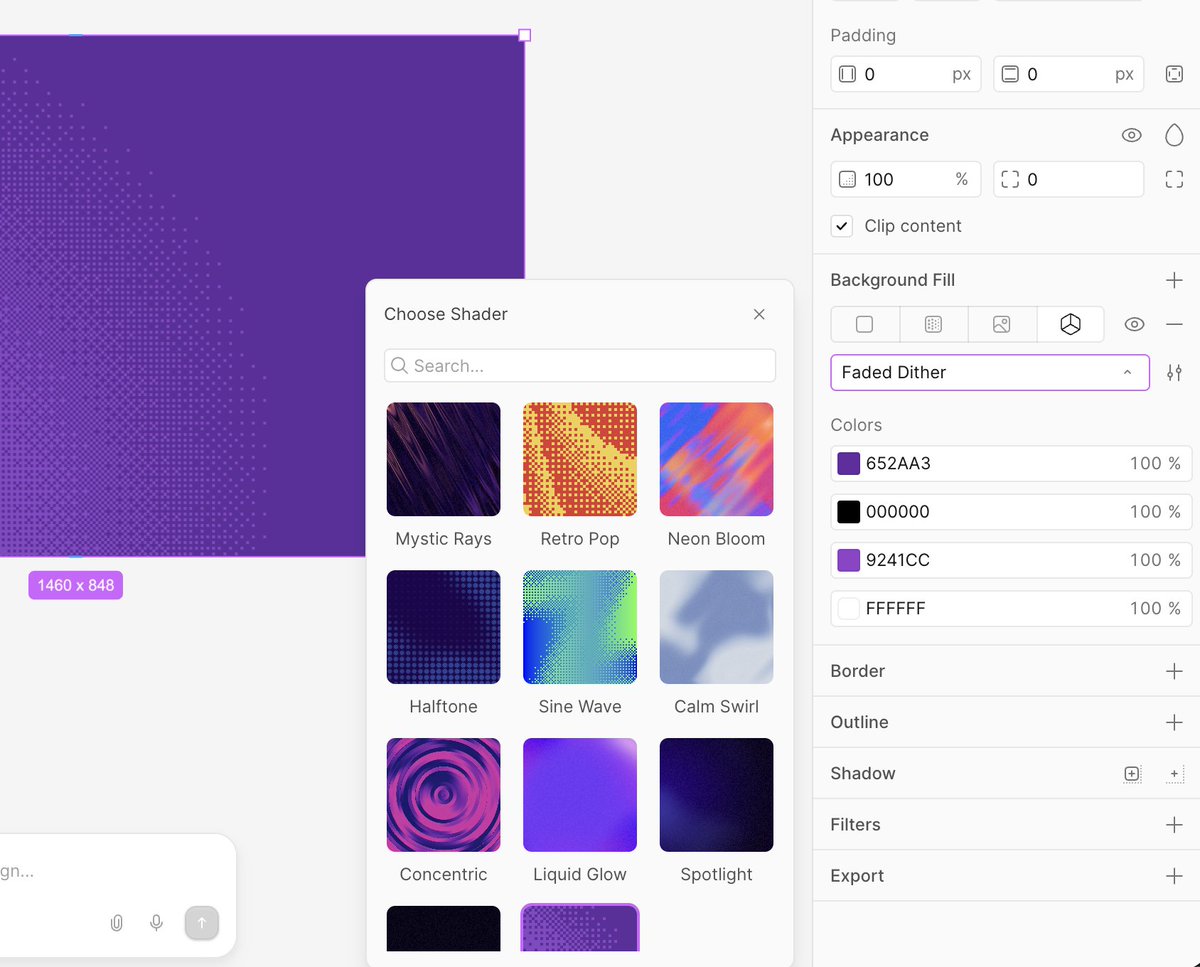
If your product acts as an agent (a design tool, AI site builder, visual editor or code generator), the Shaders MCP can plug into it. Your users get WebGPU effects without leaving your platform.
For partnerships and custom integrations, email support@shaders.com.
Next steps
- Shaders CLI: install shaders as component files and keep them in sync with the editor.
- Agent skill: teach your agent the component library and the CLI workflow without an account connection.
- Shape effects: how shapes and SDFs drive Glass, Neon and Emboss.
- Installing a shader via MCP: a walkthrough from the design editor to a hero section.